Let your little ones help prepare for Halloween with DIY trick-or-treat totes and candy gift bags.
By Heather Camlot
Ghosts and goblins, witches and werewolves. There are so many wonderfully spooky images associated with Halloween that creating creepy crafts isn’t much of a chore.
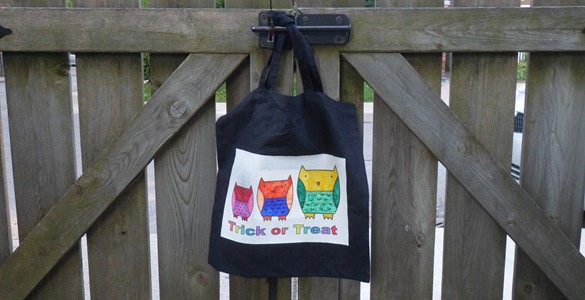
But this year, we’ve chosen sweet over sinister with a darling owl illustration by Michelle Matsui of Kempton Jones for our holiday crafts – a trick or treat tote and candy gift bags. Perfect for the youngest ghouls in your group!
Trick or treat tote
What you’ll need:
- One black cotton or canvas tote bag
- Dark t-shirt transfer paper for inkjet printers
- Iron and ironing board
- Markers in assorted colours
- Reflective tape (optional)
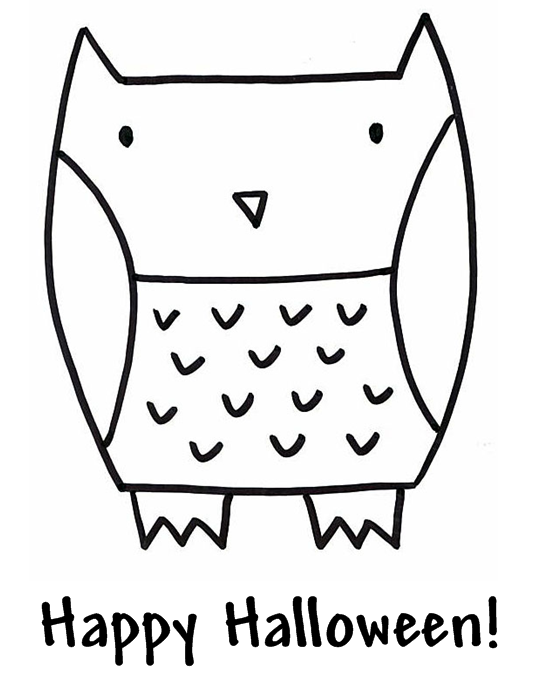
Step 1: Click on our Owl Bag Template to open in Word or save to your computer. Our template is designed to fit a tote at least 12 inches wide.
Step 2: In your printer settings, select landscape and do a test print on regular paper to ensure the image fits your tote.
If the image is too big, you can reduce the size by clicking on Print, finding Zoom in the bottom right corner, clicking on the dropdown box for Scale to paper size and choosing another size. Note, you don’t actually need to load smaller paper; your printer will reduce the size of the image as though smaller paper was going to be used. It will still print on 8.5 x 11 inch paper.
Step 3: If the test print looks okay, load the t-shirt transfer paper into your printer and select the highest quality print setting. DO NOT flip the image for dark t-shirt transfer paper. The way you see it on the screen is the way it will appear on the tote.
Step 4: Trim around the image, if desired. (We trimmed the top and bottom for an even amount of white space around the design).
Step 5: Follow the ironing instructions for your t-shirt transfer paper.
Step 6: Set up a drawing station where your child or children can colour in the image with markers.
Step 7: Affix reflective tape, if desired.
Candy gift bags
What you’ll need:
- Sticker paper for inkjet printers
- Markers in assorted colours, optional
- Clear candy bags
- Halloween-themed ribbon
- Candy
Step 1: Click on our Owl Candy Stickers to open in Word or save to your computer.
Step 2: Do a test print on regular paper to make sure the stickers are the right size for your candy bags.
If the image is too big, you can reduce the size by clicking on Print, finding Zoom in the bottom right corner, clicking on the dropdown box for Scale to paper size and choosing another size. Note, you don’t actually need to load smaller paper; your printer will reduce the size of the image as though smaller paper was going to be used. It will still print on 8.5 x 11 inch paper.
Step 3: If the test print looks okay, load sticker paper into your printer, select the highest quality print setting and hit print.
Step 4: Cut out each sticker, remove the backing paper and apply to your candy bags.
Step 5: Set up a drawing station where your child or children can colour in the stickers, if desired.
Step 6: Fill the bags with candy.
Step 7: Close the bags with ribbon, either printed with a design or a combination of black and orange.
First published October 10, 2011, on WorkLivePlayCafe.com.
